VMware Workstation Pro
The Security and Home Editions are both covered by this manual. The Security and Home Editions are both covered by this manual.
Please report any issues or missing information on the Parrot forum.
- Download the newest VMware workstation
- After downloading install it by default setting
- Now install the parrot os image I prefer to install the security edition if you want to use any no issue
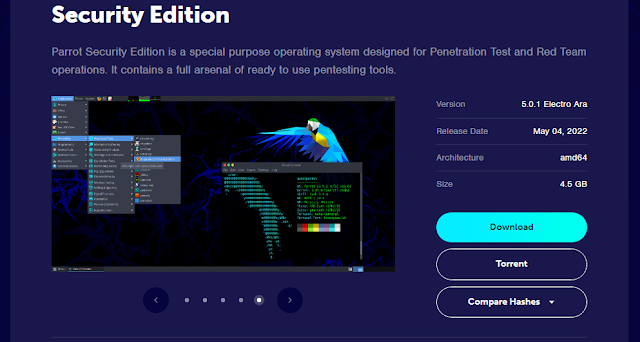
Parrot Security Edition is a special purpose operating system designed for Penetration Test and Red Team operations. It contains a full arsenal of ready-to-use pen-testing tools.
- A host system with minimum:
- 8 GB of memory
- A quad-core CPU
- 500 GB of Hard Drive
- 8 GB of memory
- A quad-core CPU
- 500 GB of Hard Drive
Note:
To shorten the steps and process, some of the photos were not mentioned. Simply carry out the instructions.
- This makes installation simple and safe for beginners.
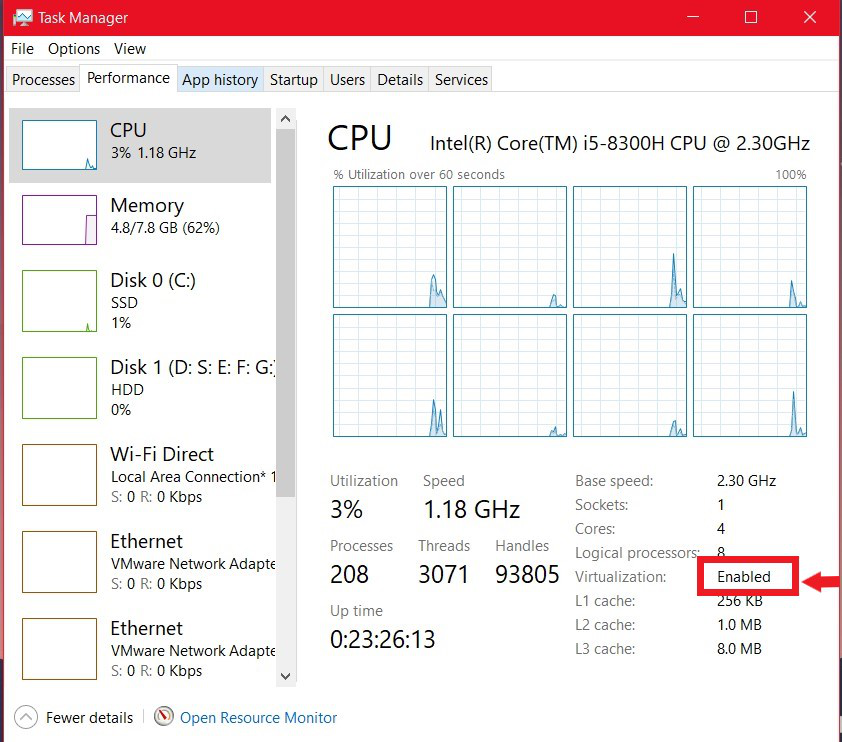
Step 1: Verify that virtualization is turned on.

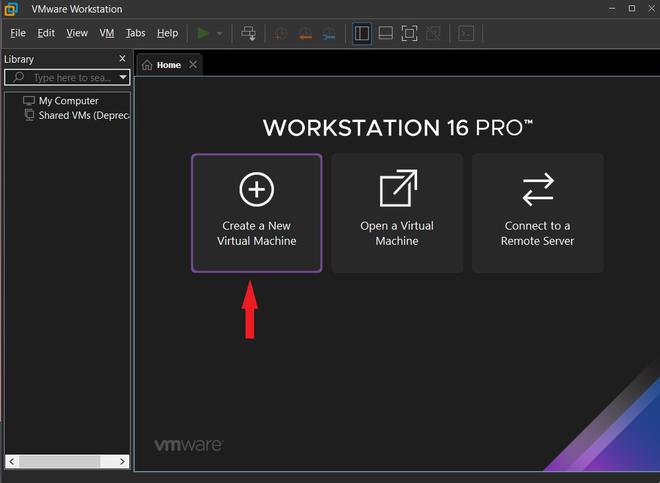
Step 2: Just run the VMware Workstation with Administrator privilege. The interface is shown in the below figure.

Step 3: Browse the location of the Parrot OS ISO file. Make sure that it was downloaded from the official page and it should download completely without any network error. It may cause the effort of the file. Click Next

Step 5: Now you need to choose Guest OS as “Linux” and the Version you can choose whether Ubuntu or Ubuntu 64-bit.
 |
| No Problem if you use this |
Step 6: Give the name of your Guest OS. For my reference to identify which operating system it was. Because I use to install the different OS in VMware. so, with the name, we can identify which OS it was. Location: if you need to install/add to a specific directory, choose to browse the options shown on the fig. Click Next.
Step 7: Here is the main you have to assign a certain amount of Storage I have assigned 50GB. Even you can extend the storage after the creation of the VM. Click Next.

Step 8: You can summarize the hardware properties Name, Location, OS, RAM, Network Adapter, and other devices. Click Finish.
 |
| I have 8 Gb of memory I give 4Gb |
Step 9: Don’t worry If you need to change a few settings for your needs. Click on the Customize hardware

Step 10: When you have done the above step. You can add or extend the memory or storage to per your requirements. Here is the place to find every option which affects the Guest OS. A new interface will be a popup click on Add option shown at the bottom. This is to add hardware requirements you can choose Hardware Type. Eg. if you need a printer.
Step 11: This step is optional. The user can take a decision on it. Click Finish
Step 12: Now start the Parrot VM.
Step 13: Choose the required optional Try/install.

step: 16 Partition the Disk
Select Erase the Disk for auto partition. Or Select the Advance option to create the custom partition. But I will prefer to click on erase the disk

type Name – Login Name – Computer Name – Password – Click Next


Click – Install Now

step 20: Welcome To Parrot OS Installation Screen
Installation is in progress…

step 21: Log in to the Parrot OS
The VM will reboot after the completion of the installation. Just log in with the user account created in step 17.

step 22: Parrot OS Desktop


